
The short version
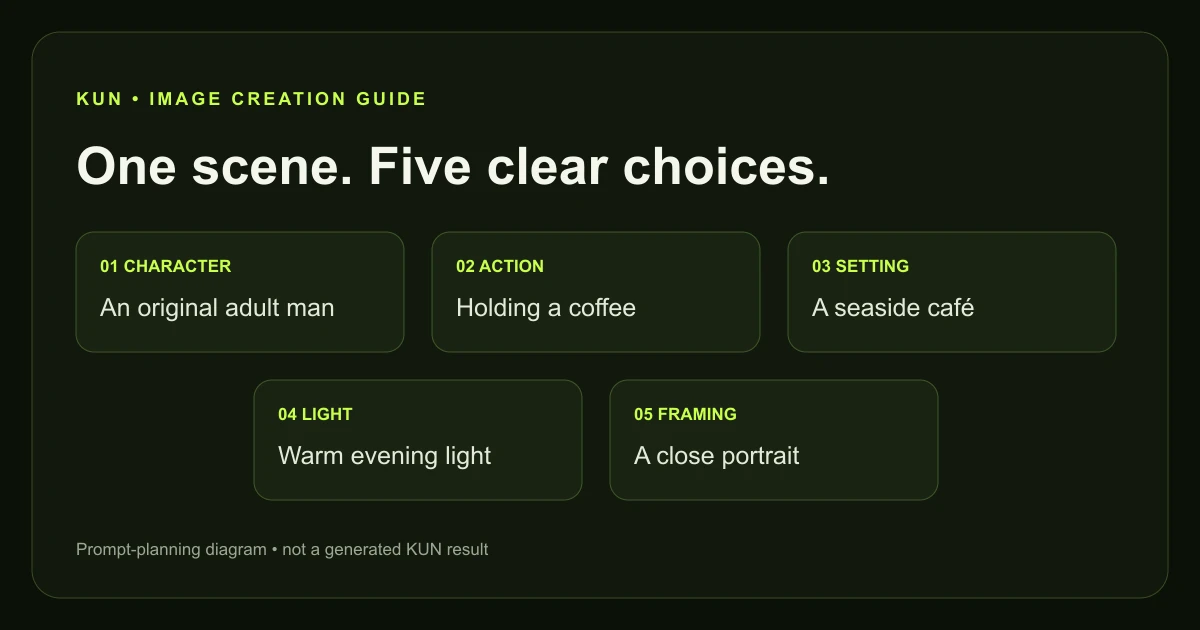
Build your prompt around five choices: character, action, setting, lighting and framing. Keep the description coherent. A close portrait and a full-body action scene ask for different images; choose one before generating.
1. Decide who is in the image
Write a short character note that you can reuse: age, hairstyle, eye colour and one distinctive item of clothing. Use an original character you can describe consistently. If you are using a tool with character selection, check which identity details it already supplies before repeating them in the prompt.
An original adult man, 27, with short dark hair, amber eyes and a forest-green jacket.
2. Choose one action in one setting
Give the image a visible moment: holding a cup, opening a book or waiting beside a train window. A whole backstory rarely fits into one frame. Turn “he is loyal and secretly misses you” into something visible, such as a careful expression while holding an unopened letter.
An original adult man sitting alone at a seaside café, holding an iced coffee and looking toward the empty chair opposite him.
3. Add light, mood and framing
Decide what a viewer should notice first. A close portrait highlights expression; a medium shot leaves room for a gesture; a wide scene gives the location more importance. Pick one dominant light source and a clear visual style.
An original adult man, 27, with short dark hair, amber eyes and a forest-green jacket, sitting by a seaside café window with an iced coffee, relaxed smile, warm sunset light, anime illustration, waist-up composition.
4. Compare one change at a time
Keep the original prompt. Change the light, pose or framing in a second version, then compare the results. If you change everything at once, it becomes harder to tell which part helped. Repeating a description may help organise your workflow, but it does not guarantee the same face across images.
Review hands, eyes, clothing, unwanted text and the number of people before keeping an image. If a result misses the idea, simplify the scene before adding more instructions. Reference-image and identity controls vary by tool; use them only when your generator offers them.
5. The planned KUN workflow
KUN photo generation is coming soon. The current design shows character selection, a scene description and generation settings. The initial release will focus on private creation. Custom character creation, visual stories and public UGC are later stages.
This is a workflow preview based on the product design, not a walkthrough of a released build. We have not tested these prompts in a released KUN generator. Final controls, costs, limits and platform availability will be confirmed at launch.
When a prompt does not work
| Problem | What to try |
|---|---|
| Too much happens in one frame | Use one action and remove secondary events. |
| The image changes style | Keep one style description across variations. |
| The face changes | Reuse the character note and check whether the tool offers identity references; prompt text alone cannot lock identity. |
| The scene is hard to read | Choose a simpler background and a clear focal point. |
Build your first scene
Pick one of our 12 anime image prompts, replace the character description and decide what you would change in a second version. You can plan the scene now, even while KUN’s generator is in development. For character inspiration, explore anime boyfriend archetypes or learn about continuity in character roleplay.
Further reading
For tool-specific prompting, see Midjourney’s prompt basics and NovelAI’s character creation tutorial. Their controls and syntax belong to those products and are not claims about KUN.